To upgrade to PHP 5.5, use the Red Hat Software Collections (SCL) repository.
Before upgrading, evaluate all of your PHP apps for compatibility with PHP 5.5.
Follow these steps to install PHP 5.5 from SCL. First install the SCL repository:
yum install centos-release-scl
Then install PHP 5.5 and these modules:
yum install php55 php55-php php55-php-gd php55-php-mbstring
You must also install the updated database module for your database. This installs the new PHP 5.5 module for MySQL/MariaDB:
yum install php55-php-mysqlnd
If you are using the ownCloud LDAP app, you need this module:
yum install php55-php-ldap
Disable loading the old PHP Apache modules by changing their names:
mv /etc/httpd/conf.d/php.conf /etc/httpd/conf.d/php54.off
mv /etc/httpd/conf.modules.d/10-php.conf /etc/httpd/conf.modules.d/10-php54.off
Copy the PHP 5.5 Apache modules into place:
cp /opt/rh/httpd24/root/etc/httpd/conf.d/php55-php.conf /etc/httpd/conf.d/
cp /opt/rh/httpd24/root/etc/httpd/conf.modules.d/10-php55-php.conf /etc/httpd/conf.modules.d/
cp /opt/rh/httpd24/root/etc/httpd/modules/libphp55-php5.so /etc/httpd/modules/
Then restart Apache:
service httpd restart
Verify with
phpinfo that your Apache server is using PHP 5.5 and loading the correct modules; see PHP Version and Information to learn how to use phpinfo.
In CentOS 7, this directory is located at
/var/www/html/. We can create the file at that location by typing:sudo vi /var/www/html/info.php
This will open a blank file. We want to put the following text, which is valid PHP code, inside the file:
<?php phpinfo(); ?>
When you are finished, save and close the file.
If you are running a firewall, run the following commands to allow HTTP and HTTPS traffic:
sudo firewall-cmd --permanent --zone=public --add-service=http
sudo firewall-cmd --permanent --zone=public --add-service=https
sudo firewall-cmd --reload
Now we can test whether our web server can correctly display content generated by a PHP script. To try this out, we just have to visit this page in our web browser. You'll need your server's public IP address again.
The address you want to visit will be:
http://your_server_IP_address/info.php
The page that you come to should look something like this:
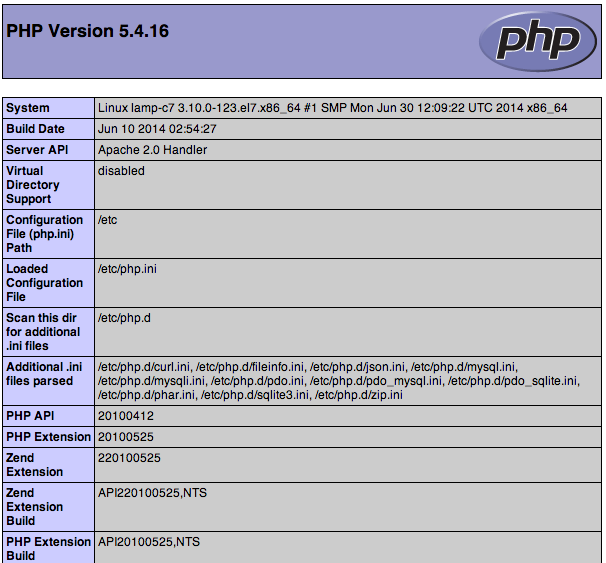
This page basically gives you information about your server from the perspective of PHP. It is useful for debugging and to ensure that your settings are being applied correctly.
If this was successful, then your PHP is working as expected.
You probably want to remove this file after this test because it could actually give information about your server to unauthorized users. To do this, you can type this:
sudo rm /var/www/html/info.php
You can always recreate this page if you need to access the information again later.
No comments:
Post a Comment